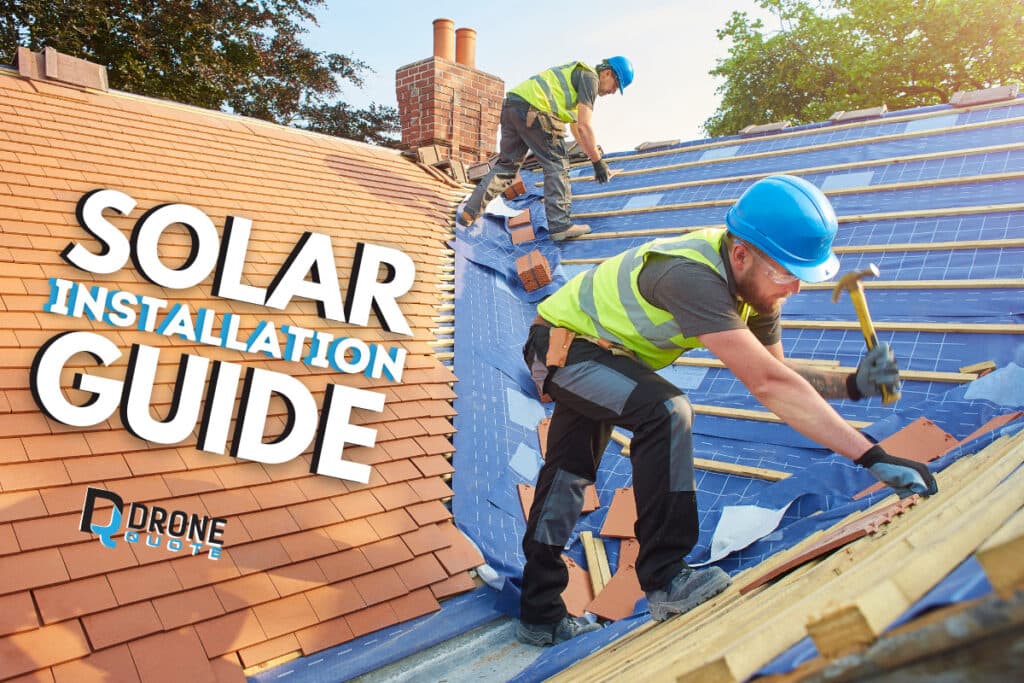
Install Solar Panels on Your Roof Like a Pro: Unlocking Energy Independence | DroneQuote
Introduction
Dream of harnessing the sun’s energy right from your rooftop? Solar power is a growing trend and practical investment, due to its significant environmental and financial benefits. In this handy guide, you’ll learn step-by-step how simple it can be to install solar panels on your roof, even if you’re an absolute beginner.
Ready for lower energy bills? Let’s transform your home into a green powerhouse!
Key Takeaways
| Evaluating your roof structure and type is crucial before installing solar panels to ensure a sturdy foundation and identify any underlying issues that may affect installation. |
| Proper roof orientation and elevation are essential for maximum sunlight exposure, with a south-facing orientation recommended for optimal energy generation. |
| Assessing the strength of your roof is necessary to determine if it can support the weight of the panels, ensuring safety during installation and long-term performance. |
Important Considerations for Solar Panel Installation
Consider your roof structure and type, as well as the proper orientation and elevation for maximum sunlight exposure. Assess the strength of your roof to ensure it can support the weight of the solar panels.
Evaluating your roof structure and type
Before embarking on the solar panel installation journey, it’s essential to thoroughly evaluate your roof structure and type. Solar panels require a sturdy foundation that can endure their weight – this is why your roof condition matters greatly.
A professional assessment will help identify any underlying issues like rot or structural damage, ensuring safe and efficient installation later on. Additionally, the type of roof will affect how smoothly the process goes.
Asphalt shingles prove to be easiest for solar installations while slate or tile roofs might pose some technical challenges due to their fragility. Be aware that conducting a rigorous evaluation reduces future mishaps and increases the overall energy production capacity of your rooftop solar panels.
Ensuring proper roof orientation and elevation for maximum sunlight exposure
To ensure optimal performance of your solar panels, it is crucial to consider the roof orientation and elevation. Ideally, your roof should have a south-facing orientation in order to receive maximum sunlight exposure throughout the day.
This allows for the panels to generate more electricity and maximize energy efficiency.
The elevation of your roof plays an important role as well. The angle at which the panels are installed can greatly impact their efficiency. In general, a pitch angle between 30 and 45 degrees is recommended for most regions.
This ensures that the panels receive direct sunlight without being too flat or too steep, optimizing their energy production.
By taking these factors into account during the planning stage of your solar panel installation, you can harness the full potential of renewable energy and reduce your reliance on traditional power sources.
Assessing the strength of your roof to support the weight of the panels
Before you start installing solar panels on your roof, it’s crucial to assess the strength of your roof to ensure that it can support the weight of the panels. The weight of solar panels varies depending on their size and type, so it’s essential to check if your roof structure is strong enough.
You can consult with a structural engineer or a certified solar panel installer who can evaluate your roof’s load-bearing capacity. They will consider factors such as the material and condition of your roof, its age, and any existing structural issues.
By assessing these aspects, they can determine whether or not your roof is suitable for solar panel installation.
Keep in mind that installing solar panels adds additional weight to your roof. It’s important to ensure that the structure can withstand this extra load without compromising its integrity.
This assessment ensures both safety during installation and long-term durability for optimal performance of your solar panel system.
Step-by-Step Guide to Installing Solar Panels on Your Roof
Prepare all necessary materials, tools, and safety equipment before starting the installation process. Mark the location of stanchions that will support the panels, fix them securely to your roof, and install flashing under the shingles for added protection.
Attach rails parallel to each other and mount the solar panels onto them. Finally, connect your solar inverter to your house’s electrical system for seamless integration.
1. Preparing necessary materials, tools, and safety equipment
To install solar panels on your roof, it is crucial to gather all the necessary materials, tools, and safety equipment beforehand. Some of the essential items you will need include solar panels, PV wire, stanchions or mounts for securing the panels, rails for mounting them, flashing for weatherproofing, and a reliable solar inverter.
Don’t forget to have a good-quality drill and screws on hand as well.
In terms of safety equipment, make sure to invest in sturdy work gloves, safety glasses, or goggles to protect your eyes from debris while drilling or handling materials. You may also need a ladder or scaffolding to safely access your roof during installation.
By properly preparing these materials and tools before starting the installation process, you can ensure that everything is within reach when needed. This will help streamline the process and minimize any potential delays or interruptions.
2. Marking the location of stanchions that support the panels
To begin the installation process, you need to mark the precise locations where the stanchions will be placed to support your solar panels. These stanchions are an essential part of ensuring that your panels are securely mounted and stable on your roof.
Take careful measurements and use a chalk line or other suitable marking tool to clearly indicate where each stanchion should go.
It’s crucial to accurately mark these locations as they will determine the stability and effectiveness of your solar panel system. Make sure to double-check all measurements and ensure that they align with any local regulations or guidelines for proper panel placement.
3. Fixing the stanchions securely
To ensure the stability and durability of your solar panel installation, it is crucial to fix the stanchions securely. These stanchions provide support for the panels and prevent them from shifting or coming loose over time.
You can achieve this by using sturdy mounting brackets, drill screws, and lags. Make sure to follow the manufacturer’s instructions carefully when attaching these components to your roof structure.
By properly securing the stanchions, you can have peace of mind knowing that your solar panels will remain in place, maximizing their efficiency and longevity.
4. Installing flashing under the shingles
To ensure the integrity of your roof and prevent any water damage, it is crucial to properly install flashing under the shingles when installing solar panels. Flashing acts as a protective barrier between the panels and your roof, preventing leaks or moisture from seeping through.
It also helps to redirect any water away from vulnerable areas.
During the installation process, carefully lift up the shingles near where you’ll be placing the solar panel mounts. Clean off any dirt or debris and apply a layer of roofing cement underneath.
Then, securely attach metal flashing over the cemented area, making sure it extends beyond the edges of each mount.
5. Attaching the rails and ensuring they are parallel
Now that you have fixed the stanchions securely on your roof, it’s time to move on to the next crucial step – attaching the rails and ensuring they are parallel. The rails serve as the foundation for mounting your solar panels, so it’s important to get this step right for a secure and efficient installation.
To attach the rails properly, start by measuring and marking their positions according to your predetermined layout. Use a level tool to ensure they are perfectly straight and parallel to each other.
This is essential for proper panel alignment and aesthetics.
Once you have marked the rail positions, use appropriate fasteners like screws or bolts (depending on your specific mounting system) to secure them firmly onto the stanchions. Make sure they are tightened adequately but avoid over-tightening, as it may cause damage.
During this process, it’s also essential to refer back to any manufacturer instructions or guidelines provided with your specific rail system. These instructions can provide valuable insights into best practices and any unique requirements related to your particular setup.
6. Mounting the panels
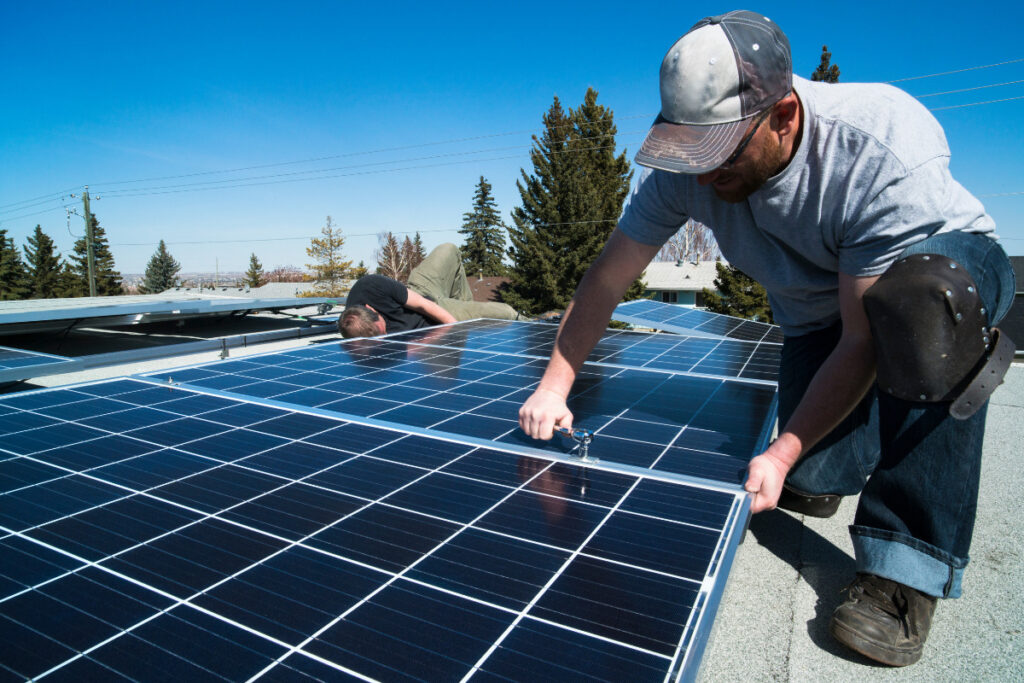
Now comes the exciting part – mounting the solar panels on your roof! This step is crucial as it ensures that your panels are securely attached and positioned for maximum sunlight exposure.
First, you’ll need to attach the rails to your roof using lag bolts or screws, making sure they are parallel and properly aligned. Next, you’ll mount the panels onto these rails using specialized brackets or clamps.
It’s important to note that while DIY installation is possible, it’s recommended to hire a qualified professional who has experience working with solar panels. They will know how to securely fix the panels in place and ensure they are correctly wired into your electrical system.
Plus, working with a professional ensures that your installation complies with local regulations.
7. Connecting the solar inverter to your house’s electrical system
To complete the installation of your solar panels, you need to connect the solar inverter to your house’s electrical system. The solar inverter is responsible for converting the direct current (DC) electricity generated by the panels into usable alternating current (AC) electricity that can power your home.
First, locate a suitable location near your main electrical panel where you can mount the solar inverter. Ensure it is easily accessible and close to an existing electrical outlet. Next, turn off the main circuit breaker to cut off the power supply from the grid. Then, using appropriate tools and safety precautions, open up your main electrical panel and identify an available space for installing a new dedicated circuit breaker for connecting your solar inverter.
Install this breaker according to manufacturer instructions. Once installed, connect one end of a length of appropriately-sized AC wire to this newly installed breaker and route it through conduit or cable raceways toward where you plan on mounting the solar inverter. Make sure any connections are secure and follow local building codes.
You can also check this guide for more information.
Make sure to watch our latest video on Solar Buyer’s Guide!
Solar Battery Installation
If you want to enhance your solar panel system’s efficiency and energy storage capabilities, you may consider installing a solar battery.
Safety considerations for battery installation
When it comes to installing a solar battery as part of your solar panel system, safety should always be a top priority. Proper precautions must be taken to ensure that the installation is done safely and efficiently.
It is important to follow all manufacturer’s instructions and guidelines for handling and installing the batteries. This includes wearing appropriate protective gear such as gloves and safety goggles, as well as ensuring that the area where the batteries are being installed is well-ventilated.
Additionally, it is crucial to secure the batteries in a dedicated battery room or enclosure that meets all necessary safety codes and regulations. By taking these safety considerations into account, you can enjoy the benefits of renewable energy while keeping your home safe.
Battery room design options
When it comes to installing solar panels on your roof, you may also want to consider incorporating a battery system for storing excess energy. This can help you have power during times when the sun isn’t shining or when there’s a power outage.
There are various battery room design options available, depending on your needs and preferences. One option is to have a dedicated space in your home where the batteries are housed. This could be in a basement, garage, or utility room. It’s important to ensure that this space is well-ventilated and suitable for storing batteries safely. Another option is using an outdoor enclosure specifically designed for battery storage. These enclosures are typically weatherproof and provide protection against extreme temperatures.
When choosing the right design option for your battery room, it’s crucial to consider factors like space availability, accessibility for maintenance purposes, and safety requirements.
Battery bank installation
Installing a solar battery bank is an optional step, but it can greatly enhance your solar panel system’s efficiency and reliability. Here’s how you can install a battery bank for your solar panels:
| 1. Safety considerations: | Before starting the installation process, ensure that you have the necessary safety equipment, such as gloves, goggles, and insulated tools. Also, make sure to turn off the electrical power supply to avoid any accidents. |
| 2. Battery room design options: | Choose a suitable location for your battery bank installation. It should be well-ventilated and away from flammable materials. Consider installing the batteries in a dedicated room or enclosure to ensure proper ventilation and thermal management. |
| 3. Battery bank installation: | Start by positioning the battery racks or mounting brackets securely in place. Make sure they are level and properly anchored. This will provide a stable base for your battery bank. |
| 4. Battery wiring guidelines: | Connect the batteries together using appropriate-sized cables and connectors specified by the manufacturer. Follow the correct polarity (positive to positive and negative to negative) when connecting multiple batteries in series or parallel configurations. |
| 5. Charge controller connection: | Connect the charge controller to your battery bank using appropriate-sized cables and connectors as per the manufacturer's instructions. The charge controller regulates the flow of electricity between your solar panels, batteries, and electrical loads. |
| 6. Inverter connection (if applicable): | If you have an off-grid solar system or want backup power during grid outages, connect an inverter to convert DC power stored in your battery bank into AC power for use in your home or business. |
| 7. Final checks: | Once all connections are made, double-check all wiring for tightness and proper insulation to ensure safety standards are met. |
Battery wiring guidelines
When it comes to installing solar panels on your roof, it’s important to also consider the installation of solar batteries. These batteries can help you store excess energy generated by your solar panels for use during times when the sun isn’t shining. To ensure a proper and safe installation, follow these battery wiring guidelines:
- Safety first: Before starting any work with the batteries, make sure to turn off all power sources and wear appropriate safety gear, such as gloves and safety glasses.
- Choose the right location: Select a suitable area in your home or garage for the battery installation. It should be well-ventilated and away from direct sunlight or extreme temperatures.
- Battery room design options: Depending on the number of batteries you have, you may need to create a dedicated battery room or enclosure. Ensure that it is adequately sized and has proper ventilation to dissipate any heat generated by the batteries.
- Battery bank installation: Connect multiple batteries together in what is known as a battery bank. Follow the manufacturer’s instructions for connecting them in parallel or series, depending on their voltage ratings.
- Battery wiring guidelines:
Use appropriately sized cables and connectors recommended by the battery manufacturer. Ensure all connections are tight and secure. Avoid sharp bends or kinks in the cables. Label each cable clearly to indicate its purpose, such as positive (+) or negative ( - ) connections. Keep all cables neatly organized and away from sharp edges or potential sources of damage. Solar panel installation guidebook Manufacturer's instructions
Conclusion
In conclusion, installing solar panels on your roof is a great way to save on energy costs and contribute to a more sustainable future. With this step-by-step guide, you can confidently take on the installation process yourself or hire a qualified professional for assistance.
By harnessing the power of solar energy, you’ll not only reduce your carbon footprint but also enjoy the benefits of clean and renewable electricity for years to come. So go ahead and make the switch to solar today!
Embrace a sustainable future!
Master Your Energy Future with Seamless Solar Panel Installation with DroneQuote!
Embrace sustainability and savings with the simplicity of installing solar panels on your roof. Are you eager to join the green movement and watch your savings soar? Our in-depth guide unveils the effortless process of harnessing solar power from your rooftop.
Ready to take control of your energy bills? Get a Quote from us and turn your home into a powerhouse of both sustainability and affordability!
FAQs
1. Can I install solar panels on any type of roof?
Solar panels can be installed on various types of roofs, including asphalt shingle, metal, tile, and flat roofs. However, the installation process may vary depending on the specific characteristics of your roof.
2. Do I need to hire a professional for solar panel installation?
While it is technically possible to install solar panels yourself, hiring a professional installer is highly recommended. They have the expertise and experience to ensure proper installation and handle any necessary electrical work or permits.
3. How long does it take to install solar panels on a roof?
The duration of solar panel installation depends on factors such as the size of the system and complexity of your roof’s structure. On average, a residential installation can take anywhere from one to three days.
4. Are there any maintenance requirements for solar panels?
Solar panels generally require minimal maintenance. Regular cleaning to remove dust or debris buildup is beneficial for optimal performance. It’s also important to monitor their output periodically and address any issues promptly by contacting your installer or a qualified technician if needed.

Ready to Go Solar?
Get up to 3 accurate local proposals for solar, backup batteries, or roofing — all free.
Get Started Free